Using Zoom Recordings in a Canvas Course
Zoom can be used to create recordings that can be downloaded and saved locally to your computer. This tutorial will explain how to record and download Zoom recordings to your computer and upload them to your Canvas Course to be used in online instruction.
This article will outline the steps for the following:
- Recording a Zoom Session
- Downloading Zoom Recordings Saved to the Cloud
- Uploading Zoom Recordings to Course Files
- Uploading Zoom Recordings to Canvas Studio
- Inserting videos into course content from Course Files
- Inserting videos into course content from Canvas Studio
Recording a Zoom Session
Step 1: After starting your Zoom meeting, select “Record” from the toolbar at the bottom of the screen
Step 2: From the menu, select either “Record to this Computer” or “Record to the Cloud”
- “Record to this Computer” saves a file of the recording to your computer’s download folder
- “Record to the Cloud” saves the recording to the Zoom Cloud, which is accessible by logging in to your zoom profile at murraystate.zoom.us (see below)
You will know you’ve initiated the recording process when you see this in the upper left-hand corner of the screen:
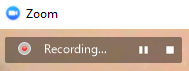
Step 3: When you are finished recording, click the “Stop” button

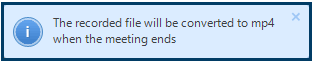
The following message will appear, notifying you that the recording will be converted after the meeting has ended:
*Note: The time needed to process the recording will vary depending on its length
Downloading Zoom Recordings Saved to the Cloud:
If you choose, your zoom recordings will be saved to the cloud, which allows you to access them from any computer by logging in to your Zoom account. These recordings can be downloaded locally.
Step 1: Login to your Zoom profile at murraystate.zoom.us
Step 2: Find the video you’d like to download on the the “Recordings” page under “Cloud Recordings”
Step 3: Next to the video title, under “More”, select “Download”

Step 4: After selecting download, the .mp4 file of the recording will appear in your computer’s download folder.
Uploading Zoom Recordings to Course Files
The Course Files feature in Canvas allows instructors to upload and store files to a canvas course
Step 1: Open the Canvas course that you’d like to add the video recording to
Step 3: On the course navigation menu, select "Files"
Step 4: To upload a recording, select "Upload" on the right-hand side of the screen

Step 5: From the File Explorer or Finder window that appears, select the .mp4 recording file from the appropriate folder, and click "Open"
*Note: make sure the file you choose is an .mp4 video file

Uploading Zoom Recordings to Canvas Studio
Users can upload videos to Canvas Studio to be accessed and used in any Canvas course through the Rich Content Editor
Step 1: After logging into Canvas, navigate to Studio from the Global Menu on the far left-hand side of your screen, OR through the navigation menu in any course.

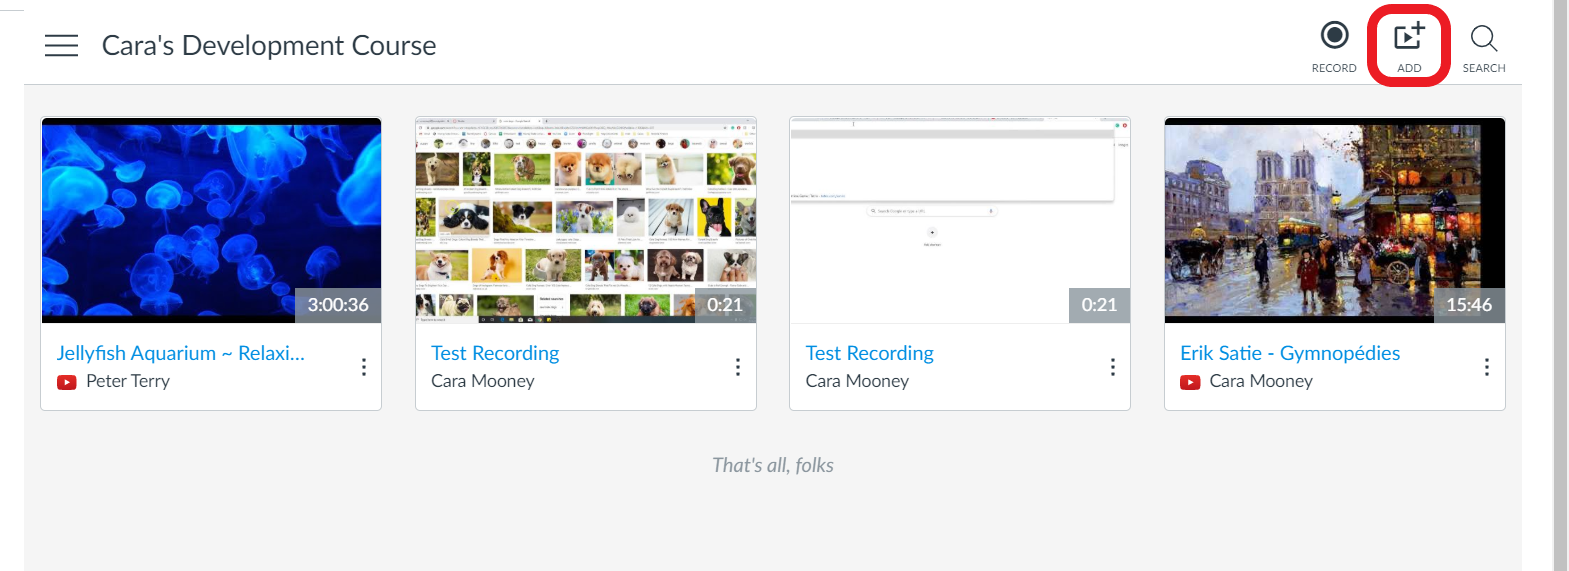
Step 2: Once Studio is open, Select the “Add” button from the right-hand side of the screen
Step 3: In the “Add to My Uploads” window, you can either drag & drop files from their location on your computer OR upload them by clicking “Browse” and selecting them using your file manager.
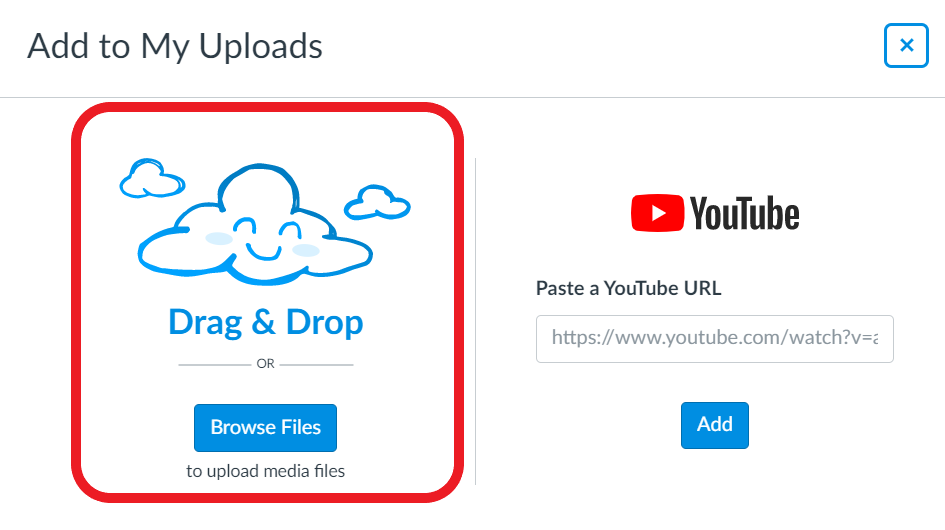
Once you select your video, it will appear in Studio.
Inserting videos into course content from Course Files
Step 1: Create or open the content (assignment, announcement, discussion board, etc.) you would like to attach a video to
Step 2: While editing the content, click the “Files” tab from the left-hand side of the screen and click the video file you’d like to attach. A link to the video file will appear in the text box.

Step 3: Click “Save” when you are done editing the content to save your changes.
Inserting videos into course content from Canvas Studio:
Step 1: Create or open the content (assignment, announcement, discussion board, etc.) you would like to attach a video to.
Step 2: While editing the content, click the small blue “V” and select “Canvas Studio” from the dropdown menu

Step 3: From the “My Uploads” menu, select the video you’d like to insert, and click “Embed”

Step 4: Click “Save” when you are done editing the content to save your changes.